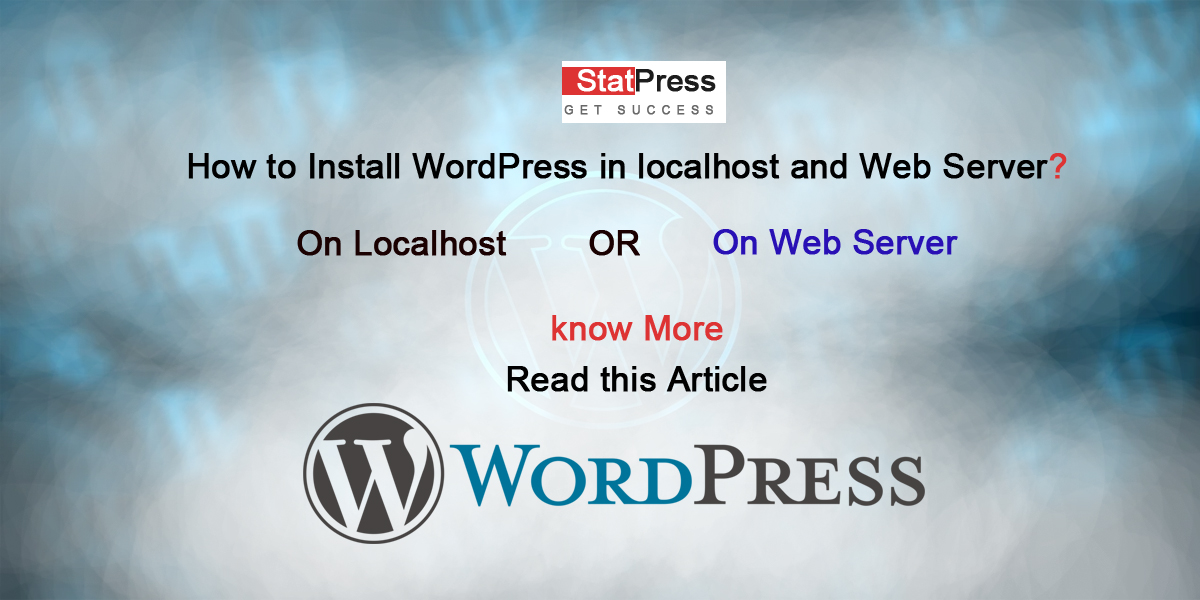
How to Install WordPress on Localhost and Web Server (Step-by-Step Guide)
If you’re new to WordPress development or planning to build your own website, the first step is to install WordPress. Whether you want to test your site locally before going live or deploy it directly to a web server, this guide will walk you through both methods.
- Installing WordPress on Localhost
- Installing WordPress on a Web Server
What Is WordPress?
WordPress is the world’s most popular Content Management System (CMS), powering over 40% of all websites on the internet. It’s open-source, beginner-friendly, and highly customizable.
Installing WordPress on Localhost
Why Install on Localhost?
- No internet required
- Safe testing environment
- Faster development speed
Requirements:
- Local Server Software (XAMPP, WAMP, or MAMP)
- WordPress .zip file
Step-by-Step Guide for installing WordPress
Step 1: Install XAMPP (or WAMP/MAMP)
Download and install XAMPP based on your OS.
Step 2: Start Apache and MySQL
Step 3: Create a Database
- Go to http://localhost/phpmyadmin
- Click Databases
- Create a new database (e.g., wordpress_db)
Step 4: Download WordPress
- Go to wordpress.org
- Download and extract it
- Move the WordPress folder to C:\xampp\htdocs\ and rename it (e.g., mywebsite)
Step 5: Install WordPress
- Visit http://localhost/mywebsite/
- Choose your language
- Enter DB details:
- Database Name: wordpress_db
- Username: root
- Password: (leave blank)
Follow the rest of the setup to Create Your Admin Account and you’re done!
Installing WordPress on a Web Server
Why Install on Web Server?
- Make your site live
- Share it with the world
- Host your business or blog
Requirements:
- Domain name & hosting
- cPanel or FTP access
- WordPress .zip file
Step-by-Step Guide for installing WordPress
Step 1:Get Hosting and Domain
Step 2: Access cPanel
Log into your hosting control panel (usually yourdomain.com/cpanel).
Step 3: Create a Database
- Go to MySQL Databases
- Create a new database and user
- Assign user to the DB with All Privileges
Step 4: Download WordPress
Step 5: Upload WordPress Files
- Go to File Manager → public_html
- Upload the WordPress.zip
- Extract it
Or use an FTP client like FileZilla to upload the files.
Step 6: Install WordPress
- Visit yourdomain.com
- Choose your language
- Enter DB details:
- Database Name: wordpress_db
- Username: ------------(Use Datebase Username)
- Password: -------------(Use Datebase Password)
Complete the site setup and login to your new live WordPress site!
Follow the rest of the setup to Create Your Admin Account and you’re done!